


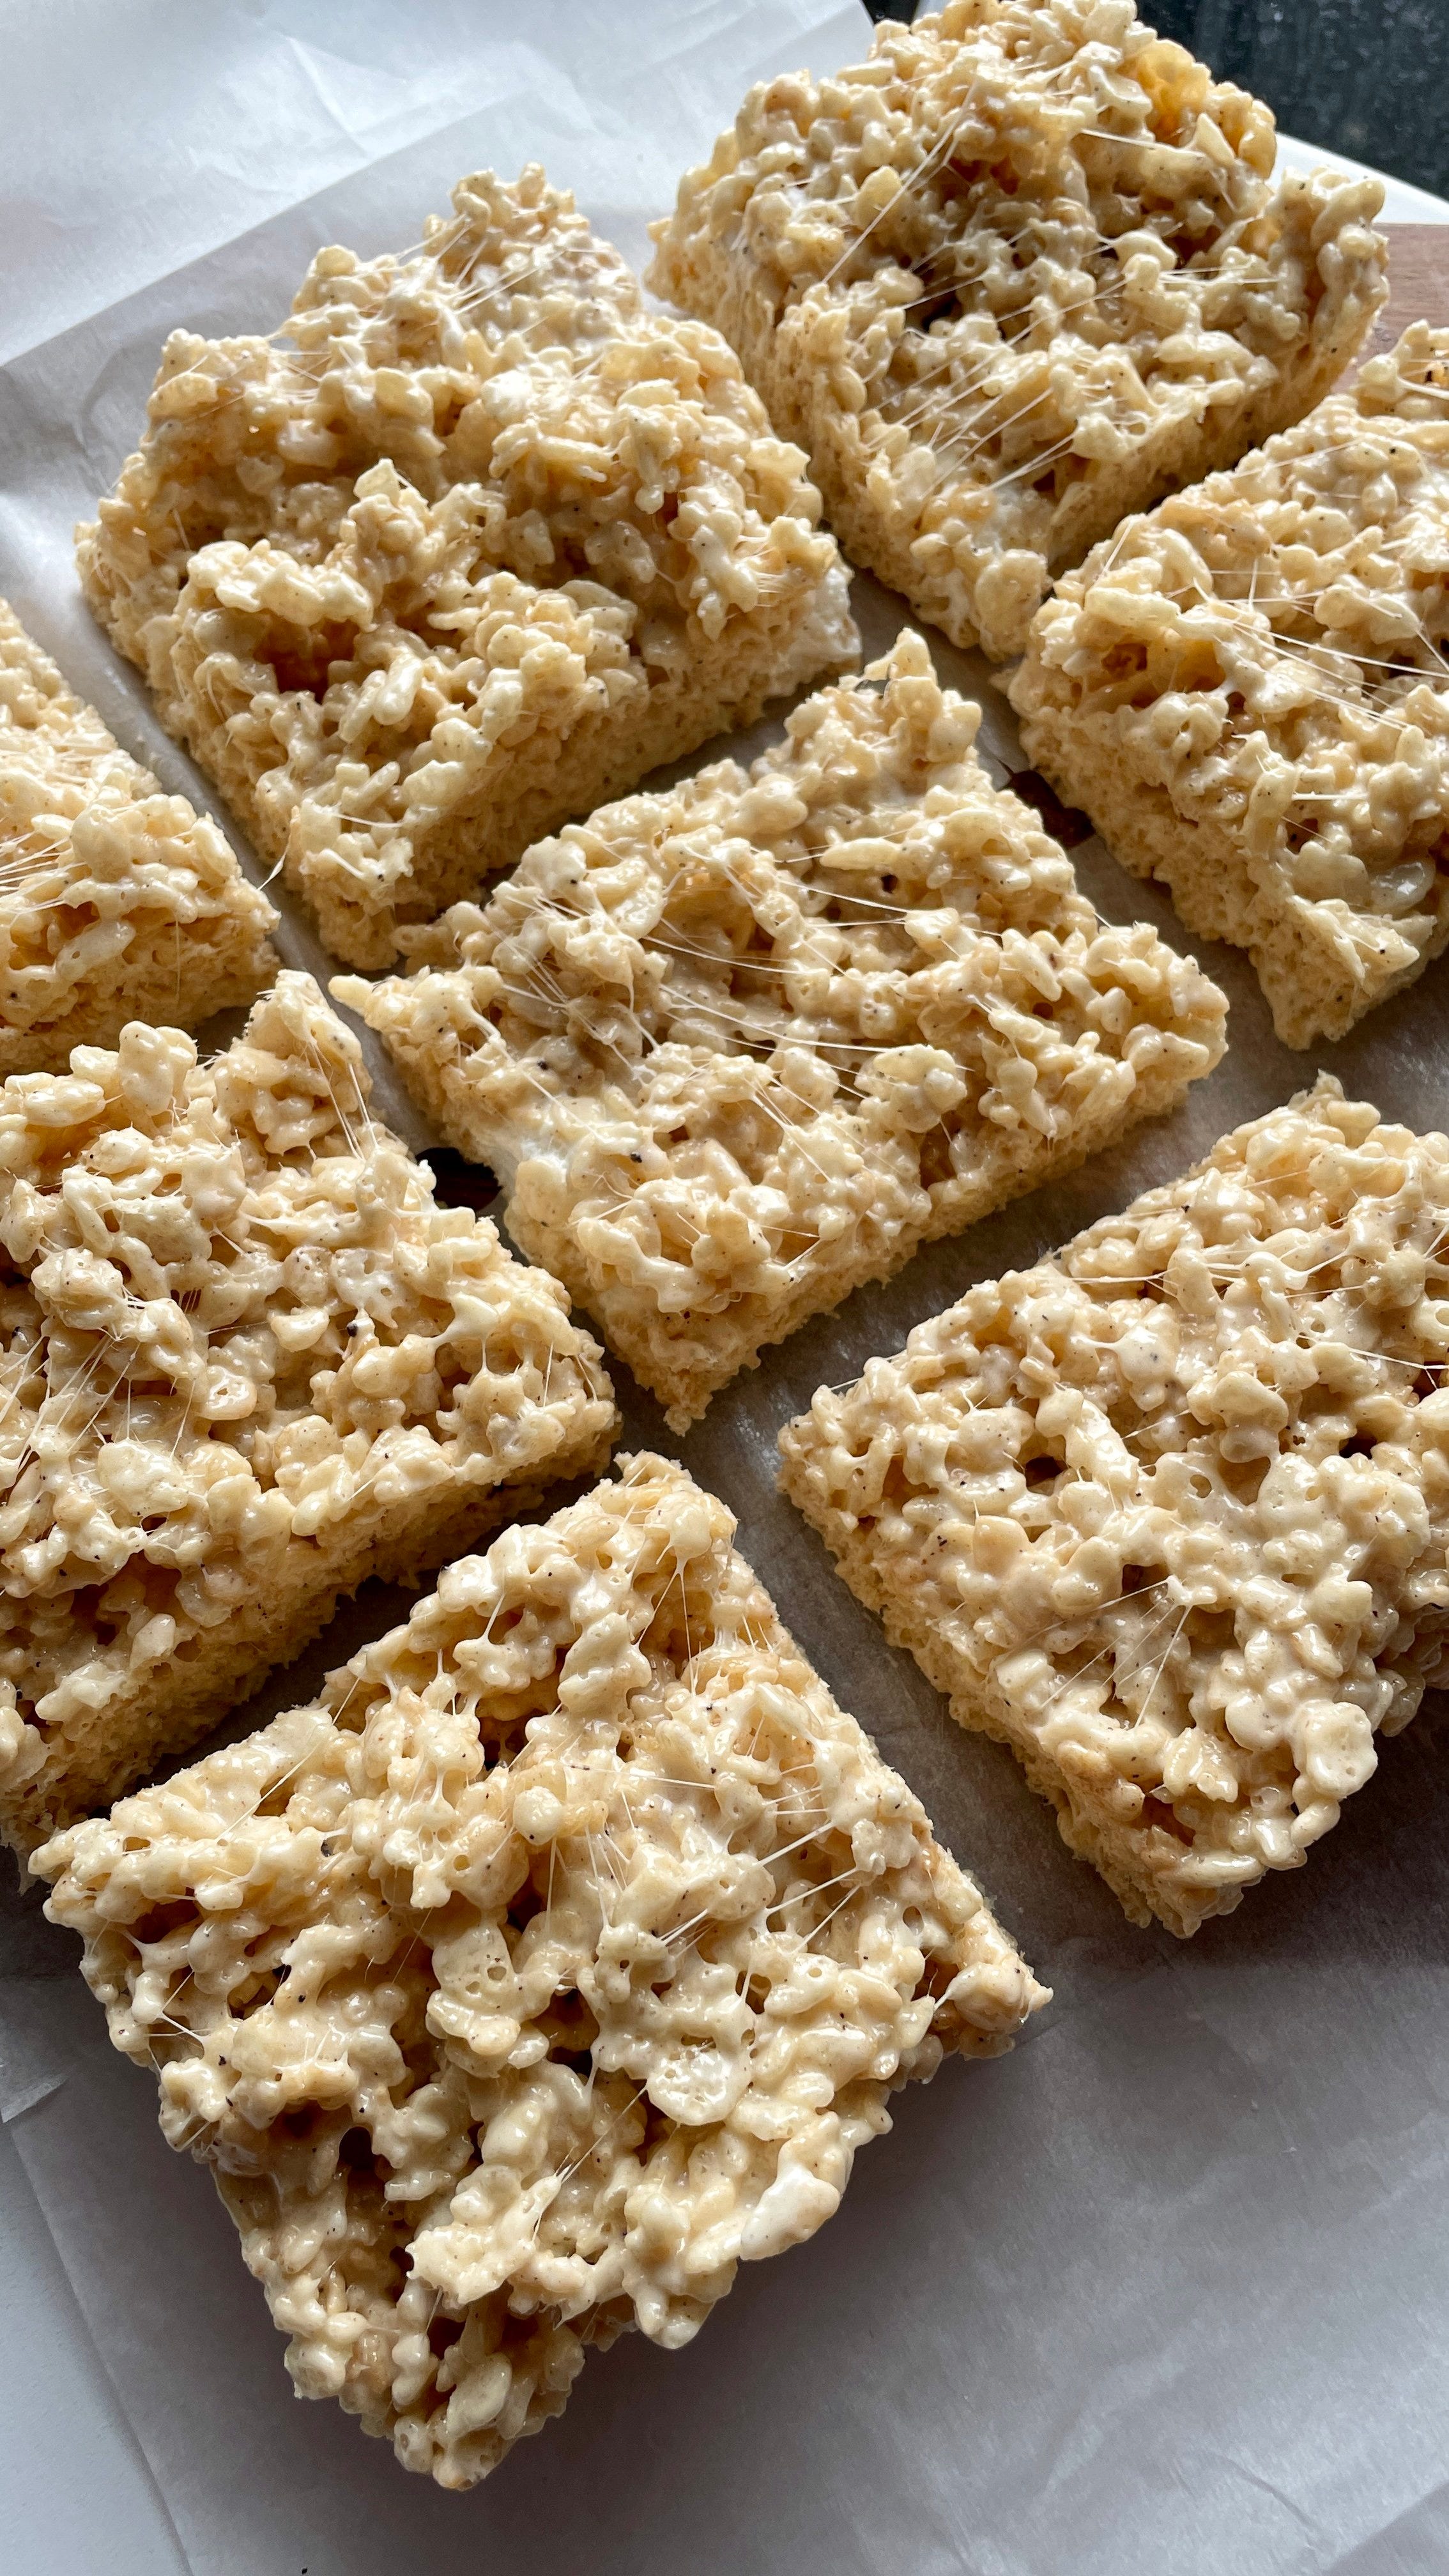
Brown Butter Rice Crispy Treats
The nostalgic treat you love, upgraded with brown butter, vanilla, and just enough flair to make you feel like you’ve got your life together.

There’s something deeply nostalgic about a Rice Krispies treat. They’re sticky, sweet, and so simple it almost feels like a scam. But as much as I love the classic, I’m also a firm believer that we can always do better. Enter: brown butter, vanilla, and a little finesse.
This version isn’t fancy for the sake of being fancy—it’s still a no-bake, one-pot, no-stress situation. But that extra step of browning the butter? It adds a toasty, nutty richness that makes these taste like the grown-up version of the ones you inhaled at school bake sales. (Except you made them. In your own kitchen. Like a whole capable adult.)
Brown Butter Rice Krispies Treats
Ingredients:
12 tablespoons (1½ sticks) unsalted butter
1 tablespoon vanilla extract
1 teaspoon kosher salt
Two 10-ounce bags of marshmallows (I like to use one bag of jumbo and one bag of mini)
One 9-ounce box of Rice Krispies cereal
You’ll also need:
A 9x9-inch baking pan
Parchment paper
A large pot or Dutch oven
A rubber spatula
Instructions:
Prep your pan:
Lightly butter a 9x13-inch baking dish, then line it with parchment paper for easy removal.Brown the butter:
Add all the butter to a large pot or Dutch oven and melt it over medium-low heat.
It’ll start to foam, then crackle and pop. Once the popping slows down or stops, keep swirling the pot gently.
Watch closely—the butter will turn golden and then deepen into a toasty amber color with little brown bits on the bottom.
This should take about 2–3 minutes after the popping stops.Add the good stuff:
Once the butter is brown and smells nutty, turn the heat to low.
Stir in the salt, vanilla extract, and both bags of marshmallows—but save about 1 cup of marshmallows to add later.
Stir constantly until everything is melted and smooth. Then, take it off the heat.Mix in the cereal:
Pour in the Rice Krispies and the reserved cup of marshmallows.
Use a rubber spatula to gently fold everything together until the cereal is evenly coated.Get it in the pan (gently!):
Transfer the mixture to your prepared pan.
Don’t press down hard! Just gently nudge it into the corners and spread it out evenly—this keeps the texture nice and chewy instead of dense.Let it set:
Let the treats cool at room temperature for about 1 hour, or until they’re firm enough to cut.Slice and enjoy:
Cut into squares and serve. Or just eat straight from the pan—no judgment.